Showing posts with label completed projects. Show all posts

July 25, 2016

A Slow Year for Craft

Hello everyone! You must be wondering if I've dropped off the face of the earth. Well, I haven't ... but it's been a slow year for craft so far. Even the end of last year was pretty slow, although I have been trying something new - Zentangle. I haven't shared any of my tangles outside the family yet, but then I'm just learning.

In January I got crafty for Kids Camp. I made about 20 little treasure chests. Some were table decorations for our banquet night, while others were for the girls in my cabin.
I also drew a big treasure map as a wall hanging (sorry, no photo of that one). I'm really proud of this one.

~~~~~~~~~~~~~~~~~~~~~~~~~~~~~~~~~~~~~~~~~~~~~~~~~~~~~~~~~~~~~~~~~~~~~~~~
Cards have been few and far between.


I'm sure there were a couple of others, but I haven't got photos of them. I'll be doing another one within the next week.

~~~~~~~~~~~~~~~~~~~~~~~~~~~~~~~~~~~~~~~~~~~~~~~~~~~~~~~~~~~~~~~~~~~~~~~~

The best news is that I have actually finished my crochet rug/blanket. It was May when I finished so it took me 6 winters to finish it. I haven't got photos of it either. I'm loving snuggling up under it on these cold winter nights. The navy, maroon and purple colours are great. And I love the shell edging - it was the perfect finish.

~~~~~~~~~~~~~~~~~~~~~~~~~~~~~~~~~~~~~~~~~~~~~~~~~~~~~~~~~~~~~~~~~~~~~~~~

I'm having a break from large cross stitch projects at the moment. I do have a couple of very small cross stitch projects that are on the go - mostly so that I'll have something to do while waiting for family members while they are in appointments.

August 23, 2015

African Sunset

AFRICAN SUNSET IS FINALLY COMPLETE!!!


5 and a half years later!

I'm so glad to finally be done. The colours have been much different that what I would normally choose to use, so it has sometimes been a chore. But now it is done!!!

I won't be doing another big project just yet. I need to finish a few other things first and my next project will probably be a small one - so that I get it finished faster.

January 10, 2015

Getting My Crafty On!

I've been getting a bit crafty in the past few days - that is other than working on African Sunset when sitting down with my family to watch movies.

It all started with Kids Camp. No the camp hasn't happened yet, but the preparation has.
Our theme for this year is Superheroes! So, of course, that means capes and such.
I was going to post a photo of my cape, but the fabric I made it of doesn't lend itself to photography. Now I've got you curious.

Last year I picked up some pink tulle in the remnant bin at my local Spotlight store. I had planned to use it at work, but some things changed and I never did quite find a use for it there, but the idea came to me, that it would work well with the idea of the superhero talent of invisibility!
I used a single layer of the pink tulle and edged it with pink bias tape. I sewed the bias tape around except for the top, then used more bias tape to cover the top and form the ties to tie it on.
I'm very happy with it and hopefully it will be cooler than a full fabric cape if the day is very hot when I wear it.

I've also been working on some cards that a friend asked me to make for her. So far I have 3. All are based on designs I have previously made, either exactly the same or with variations depending on the materials (such as stickers) I have available.


Then there has been the folder that I use for Kids Crew, the children's ministry I am involved in at church.
I may have mentioned the folders in previous years, but this year I thought I'd post some pictures.


The picture is actually a cross stitch that I cut out of a magazine - I have no idea which company it is from, but it is beautiful.
The font I used for the words is called 'Peeps' and has little eyes on each letter. It perfectly fit for what the folder is for.
The folder is plain white with a plastic sleeve that you can slip things into - perfect for designing your own cover and side panel.


Inside I make my own section dividers. I used cardstock that I would otherwise be unlikely to use. This year I have the swirly pink (as you can see), mauve, orange polka dots on white and mauve with a white box-like pattern. There are 2 of each of the pink and polka dot.
The tabs are tab stickers that I have. I'm not entirely happy with the colours, but they were the only ones I had left. Next time I think I'll go back to using my Stampin' Up! punch and stamps to make the tabs.
The last thing, which I actually did today, was to make this really interesting pen holder.
I found out about the idea on Pintrest, checked it out, and as the instructional video was going, pulled out the materials I would use and had a go! Thank you to Michele at Poochie Baby for the idea.
It's just a binder clip and duct tape, although I used washi tape for mine. I just love those hot air balloons!
I'm still figuring out the best position on the folder for it - yes, because you use a binder clip it can be move when needed or removed completely!

April 3, 2014

Baby and Birthday!

A friend of mine recently had a baby and today is her birthday, so 2 cards have been made!


The design slightly changed as I made this one, but I think the end result is better than my original plan.


This one all started with the border! The trouble was figuring out what to do next. But I'm really happy with the way I was able to introduce texture through the embossing, without adding another colour.

March 9, 2014

Who Needs a Journal?

My latest crafting project was not cross stitch (still working on that), nor was it a card made specially for someone!

This one was for me - a new journal!


Several years ago I won a Bind-it-All. An amazing tool that enables me to bind up all manner of things in a variety of shapes and sizes. So far I've only made journals, but there is always the possibility for something more.
Anyway, back to my current one ...

This one has been a combination of recycling and re-purposing. The covers were some cardboard used as packaging that I trimmed to size and then covered. The front cover is a beautiful Grace Taylor scrapbooking paper, with clear contact over the top to protect it. Unfortunately I ran out out of clear contact, but found some patterned contact in the back of my cupboard - silver holographic stars!

The internal pages were also a challenge. I really wanted some lined paper, but I can never find good quality paper of the right size that has lines. So my brilliant idea was to look through my stash of writing paper from the days when I used to write letters to pen-pals. I had 3 pads of blue paper that was excellent quality, not lined, but that's OK. So I pulled all the pages apart and they are the pages of this journal!

The wire is a little big (I didn't have the right size on hand), but that will work well, because for the purpose of this journal, I often stick other pages in and the extra size wire will allow the journal to expand.

Now, if you live in Australia, could you please give me some suggestions of where I might find some good quality lined paper?

February 15, 2014

Safari and Baby

No, not combined!

I recently made a card for a friend who was having a baby shower. Inspiration for the card came from 175 Fresh Card Ideas by Kimber McGray, but I have changed things a bit.
8950492


My friend loves polka dots, so using the dots embossing folder was perfect. The pram is actually made from some kind of fluffy fabric. And I added white brads to help secure it.

~~~~~~~~~~~~~~~~~~~~~~~~~~~~~~~~~~~~~~~~~~~~~~~~~~~~~~~~~~~~~~~
And now for safari time. I did some more on African Sunset last night, and have now finished one of the elephants - except for the back stitch!

You can't quite see all of it because I have turned the aida cloth on the scroll frame. I mostly need to do backstitch around the legs, ear, trunk and tusks. But that will have to wait until I've done part of the next elephant - at least to the point where there is at least one stitch beside all the areas for backstitch.


January 21, 2014

Costume anyone?

I'm on a Kid's Summer Camp this week!
Each day we have a different theme - Dinosaurs, Pirates, Medieval and Under the Sea - and needed a little costume item to make the games fun each day. Most days it was easy to find something because I already had a suitable costume, but Dinosaur day was a problem.

A Google search started and I found an idea that I could modify, so thank you Ginger & George for the inspiration!

I started out with a plain green t-shirt (conveniently already in my wardrobe).
Then I added 10 felt diamonds.
A needle and thread connected things together, and this is the result:


Side view!

January 19, 2014

First Card for the Year

Well, I've made my first card for the year, and it was not for the person I thought it would be.

I received a surprise phone call from a very good friend, we talked about many things, but the purpose of her call was to invite me to her daughter's 10th birthday party. Her daughter specifically wanted me to be there!!

It's such a blessing to be part of a child's life, but it is in moments like these that you realise they really appreciate the time you spend with them. Don't ever underestimate the impact you can have in a child's life.

This card is for my young friend!

January 11, 2014

A Sewing Adventure in Re-Purposing

How many of you have a few items in your house that you don't use and are getting frustrated by the space they take up?
I'm guessing everyone!!
I know I have a few.

Which recently led me to get rid of a few things in my wardrobe. A few things will be making a trip back to an Op Shop! They served their purpose but I'm not going to wear them again.
This leads me to the purpose of this post.
I've had a skirt sitting in my wardrobe for a few years that never quite fit right (on me or any other member of my family). I also had a need for a bag to put my pillow in when I go away on holidays or trips.
The skirt was the perfect size - resulting in the idea that the skirt could become a bag.
Before
After

It took a bit of unpicking - I had to remove the elastic in the waist and take out the hem.
I used a French seam for the bottom to make sure the denim wouldn't fray in the bottom seam, then sewed up the casing for a cord. I even used the gold coloured thread to match the stitching. I tried using a toggle that I had to secure the cord, but it wasn't big enough, so I popped the cord through the holes on a big button and used that instead.

It's the perfect size bag and it even has pockets (I left them as they were)!!

November 24, 2013

A Selection of Cards

A friend was asking what I'd been up to lately and I had to confess that study has taken up the bulk of my time, leaving almost no room for craft.

There were a couple of things I couldn't post about earlier because I was waiting for them to arrive (mail is very slow going to Africa).


This one headed over to Africa to my best friend!

~~~~~~~~~~~~~~~~~~~~~~~~~~~~~~~~~~~~~~~~~~~~~~~~~~~~~~~~~~~~~~~


An engagement card! You might be able to just see all the hand drawn hearts on the background.

~~~~~~~~~~~~~~~~~~~~~~~~~~~~~~~~~~~~~~~~~~~~~~~~~~~~~~~~~~~~~~~


My first attempt at a centre-opening card - this one was for a wedding.

~~~~~~~~~~~~~~~~~~~~~~~~~~~~~~~~~~~~~~~~~~~~~~~~~~~~~~~~~~~~~~~


Now this one looks complicated, but it actually very simple. It's just a piece of patterned paper stuck on a card. I wrote the 'Happy Birthday' myself (as you can guess, since it's not perfectly centred)

~~~~~~~~~~~~~~~~~~~~~~~~~~~~~~~~~~~~~~~~~~~~~~~~~~~~~~~~~~~~~~~

I've also been doing some more on African Sunset, but no pictures this time. I'm filling in some gaps and working on the ground.

I'm also planning some Christmas cards and Christmas crafts, but study is taking precedence right now with deadlines looming!

October 19, 2013

Mini for Christmas

I needed something to do while going away for a weekend recently (not that I actually did it while I was away), so I pulled out my stash of projects to complete and decided to do a mini Christmas decoration.
I like to have something new every year, although I have now exhausted my stash (unless I pull out some of the Tiny Stockings that I did a few years ago - I didn't do them all then).


So there you have it! A little bit of Christmas!

September 26, 2013

My Working Space

Have you wondered about my crafting space?
Well, if you have I'll tell you a little.
My bedroom is not just a bedroom - it is also my home office, crafting space, relaxing spot and library!
The top of my bookshelves holds DVD boxes full of stamps, ink pads, dies and a variety of other crafting paraphernalia. My desk is flanked by 2 sets of plastic drawers plus another set of plastic drawers on the other side of the room, holding embellishments, paper punches, adhesives, brads, eyelets, scrapbooking papers, ribbons, lace, templates, cardstock, beads and chalks.

That's all good, neat and tidy, but when I get crafting things start getting pulled out, and things get piled up on every available space - generally my bed!
This is what happened when I got crafting recently:

What you can't see from this photo is what my desk looked like, but I can assure you there were crafting things all over that too (I just don't want to give away the project I was working on)!
~~~~~~~~~~~~~~~~~~~~~~~~~~~~~~~~~~~~~~~~~~~~~~~~~~~~~~~~~~~~~~~~~~
With the school holidays I have had a bit of time to work on some sewing projects - I have actually halved my list!

  • Darts in pants so that they fitted properly
  • Mending
  • Putting pockets into shorts that didn't have any
  • Making a rag bag
The most interesting is the rag bag. I used the legs of a pair of jeans that had worn out in other areas. I cut them off, sewed them together in a tube, sewed up one end of the tube and made a casing for a draw string by opening a small section of the hem on the other end.
To make the string, I started off by finger knitting some wool, but I found it was not thick enough and likely to break. So I used the initial finger knitting and finger knitted that again to make it stronger. It was then too short, but I had more wool and tried again.
So that I got the right length, I started doing the single finger knitting, then before finishing it off, I started the double up. It worked really well because I could do more single finger knitting to make it longer until I had the right length.

It's a good feeling to finally get some things done.

September 7, 2013

Cardmaking Experiments

A card I made today.

I used embossing powder and my heat gun for the first time. It didn't quite work how I planned - the ink dried too fast.
I also made the window blinds - I stamped the window on the paper I wanted to use then cut out the bits I needed. The bottom edge was done with decorative scissors and I hand drew stitch marks at the bottom. The blind pull at the bottom is a pearl.

(This post has been scheduled for a later date so that the person receiving it doesn't have a sneak peek.)

August 24, 2013

Birthday Cards

I've had a busy afternoon and evening of card making, and here are the results:


This one combines decoupage layers with washi tape.


I tried a new technique with this one, by using blow pens.

Both are for female cousins.


This one is for one of my male cousins.
Normally when I make a card, I just put things together and see how it works out, but for this one I actually roughly sketched it first. The tent and fishing rod are stickers that I purchased so long ago that the adhesive on the back had lost it's stick, so I had to use my own. I cut around the top of each wave on the paper (very fiddly) for the wave effect. The sky was done using chalk and a dauber.

(This post will only appear after their birthdays, as I don't want them to have a sneak peek.)

July 24, 2013

Secret Projects Revealed!!

Earlier this year I mentioned that I was working on some secret projects! The time has now come for them to be revealed.
2 new babies joined our family recently, and as is my tradition I did cross stitches for each one to welcome them to the family.

The pictures below have been slightly edited. I stitched their names on each one, but for privacy, I can't reveal them here.


Each of these are from the Playtime Nursery book by Ginny Fraser. There have been a couple of alterations to the patterns so that they worked for the babies I made them for.

May 26, 2013

A "Little" Bit of Crochet

For years I've wanted to do really fine crochet and make a doily. Since I learned how to crochet using a DVD I've thought about it more, but with so many other crafts that I do and projects on the go, it's just one more thing that's been put on the back-burner. I've also been seeing crochet embellishments for cards and realised that I could make them myself.

I had a little time on my hands over the last couple of days, and a book out of the library - "100 Snowflakes to Crochet".
So, I found some crochet cotton and used one of my smallest hooks (actually a cro-tat hook).
The first one I did in about an hour. The second took a bit longer, but it was more complicated.
And here they are ...
The one on the left was first. It's about the size of a 10 cent coin. The one on the left, I think looks more like a ships wheel than a snowflake! It's just a little smaller than a 50 cent coin. It was hard to get the loops right. I wasn't sure which side of the chain to put the hook through so that it sat right. I think I may use these on cards as embellishments.

So that's what I've been up to lately, plus some more work on my crochet rug! It's slow going these days with it getting so large, but I'm closer to the end than the beginning. A few more rounds of blue, then I'll do maroon edging!

May 19, 2013

Baby Shower Card


So a friend of mine is having a baby, and today was her baby shower.
This is the card I made!

May 10, 2013

Cards, Cards, Cards and a Few Other Things

I know, I know! I haven't posted about projects for a while, but I had some mail go missing and couldn't post about the cards I made until I knew they had arrived!
So here we go - a couple are actually Christmas cards. Mail to Africa went missing, and only just arrived - 5 months later!


This one was fun. The tree is actually a wallpaper cut out. The lights and decorations glitter glue and rhinestone stickers.


This one I made for a friend for her wedding. The heart paper I made myself by sticking punched hearts on white paper. I scanned it into my computer and can now print more whenever I like!


My brother's birthday card! The domino paper was from a craft magazine. The dominos stuck on were actually out of a Christmas cracker. There weren't enough for a game of dominos, but they made a nice embellishment. My brother loved it!


A friend of mine was starting a new job and moving to the other side of the city, so this was an encouragement card. The hand is a novelty paperclip!


A notepad for my Mum! She needed a new one, and while we had all my card making things out I whipped this up. The cover is embossed cardstock, and the hedgehog a sticker.
We had a card making party for my birthday - it lasted 2 days! I pulled out most of what I have, spread it out on and around the dinning table. I can't show you most of the cards we made because they haven't been sent yet, but we had a lot of fun!


A couple of engagement cards. You might recognise the black and white border on the second one! It was part of my Op Shop haul a little while ago. Yes, the heart paper is the one I made and featured in the wedding card I mentioned earlier.


So there you have it! Just a few of the projects I've made this year (and one last year). Stay tuned, there's sure to be more.

~~~~~~~~~~~~~~~~~~~~~~~~~~~~~~~~~~~~~~~~~~~~~~~~~~~~~~~~~~~~~~~~~~

With the cooler weather I've also started working on my crochet rug again. It's big enough to keep my legs warm as I keep making it!

And then there's a cross stitch project I'm working on. No sneak peaks. It's a surprise gift!

January 22, 2013

Sew and Sew!

Sewing has been my focus (when not studying) in recent days. I needed something to wear to my cousin's wedding, and had been unable to find anything in the shops, so I decided to sew something. This is what I ended up making. I did not end up wearing it though.
Let's just say, that pattern pictures are decieving. This top did nothing for my figure. So I ended up having a day of shopping with my Mum and one sister, that resulted in me purchasing a beautiful dress in an oceany green, that was very flattering, and everyone said I looked good.
I did, however, learn some new sewing skills and learned that Chiffon is an awful fabric to sew with!

This was a skirt I bought recently, but it was very straight and rather boring, so I jazzed it up with some dainty lace around the hem, I love it! And the pattern on the lace looks remarkably like butterflies. I actually stitched this by hand, although I could have done it much quicker by machine.

January 5, 2013

Mysteries Revealed

Now that Christmas and a birthday have come and gone, I can now share with you some of the projects I made as gifts.

One of them was my first foray into Kaiser Craft's constructable items - in this case an advent calender.

 This is the 'advent' calender that I made for my Mum. I had planned to do it for 2011, but time got away from me. Then she said that she wanted one that could be used throughout the year, not just at Christmas, so I was very glad I hadn't done it.
It took a lot of time, particularly constructing all the individual drawers - I wrapped them with paper, then clear contact.


These are just 3 of the Christmas Tree decorations that I made for each family member (plus a few friends). As I have mentioned previously, it is a tradition in our family for each person to receive a new tree decoration each year. It makes our tree very eclectic, but I like it that way!


I also made my own gift tags! Just hearts punched out of Christmas papers (leftovers from a make and take I did at Paperific) stuck on precut circles, with a bit of gold cord tied through the holes.
I also made personalised napkin rings (no picture). A bit of recycling went into this project as I used the cardboard rings in the packaging of some Ikea tealight candle holders! I painted the edges of the rings white (there was already white paper on the inside and outside), stuck some Christmas scrapbooking paper around, and put on a label with the person's name. For a couple of the labels I actually punched out the shape from a paint colour sample card!


These were a present for one of my sisters. She loves bird houses and I found these two fairly cheaply online. They come unpainted, so I had the fun of painting and decorating them. The daisies on the green and red one I painted, but the lady bug is a sticker. For the green and white one, I stuck on blue paper flowers, but painted the vines.


These 2 felty friends rounded out my partially handmade Christmas Gifts. The Scotty dog was a new pattern, and I'm very pleased with how it turned out. My friend said she didn't want to wear the brooch because she'd rather look at it!


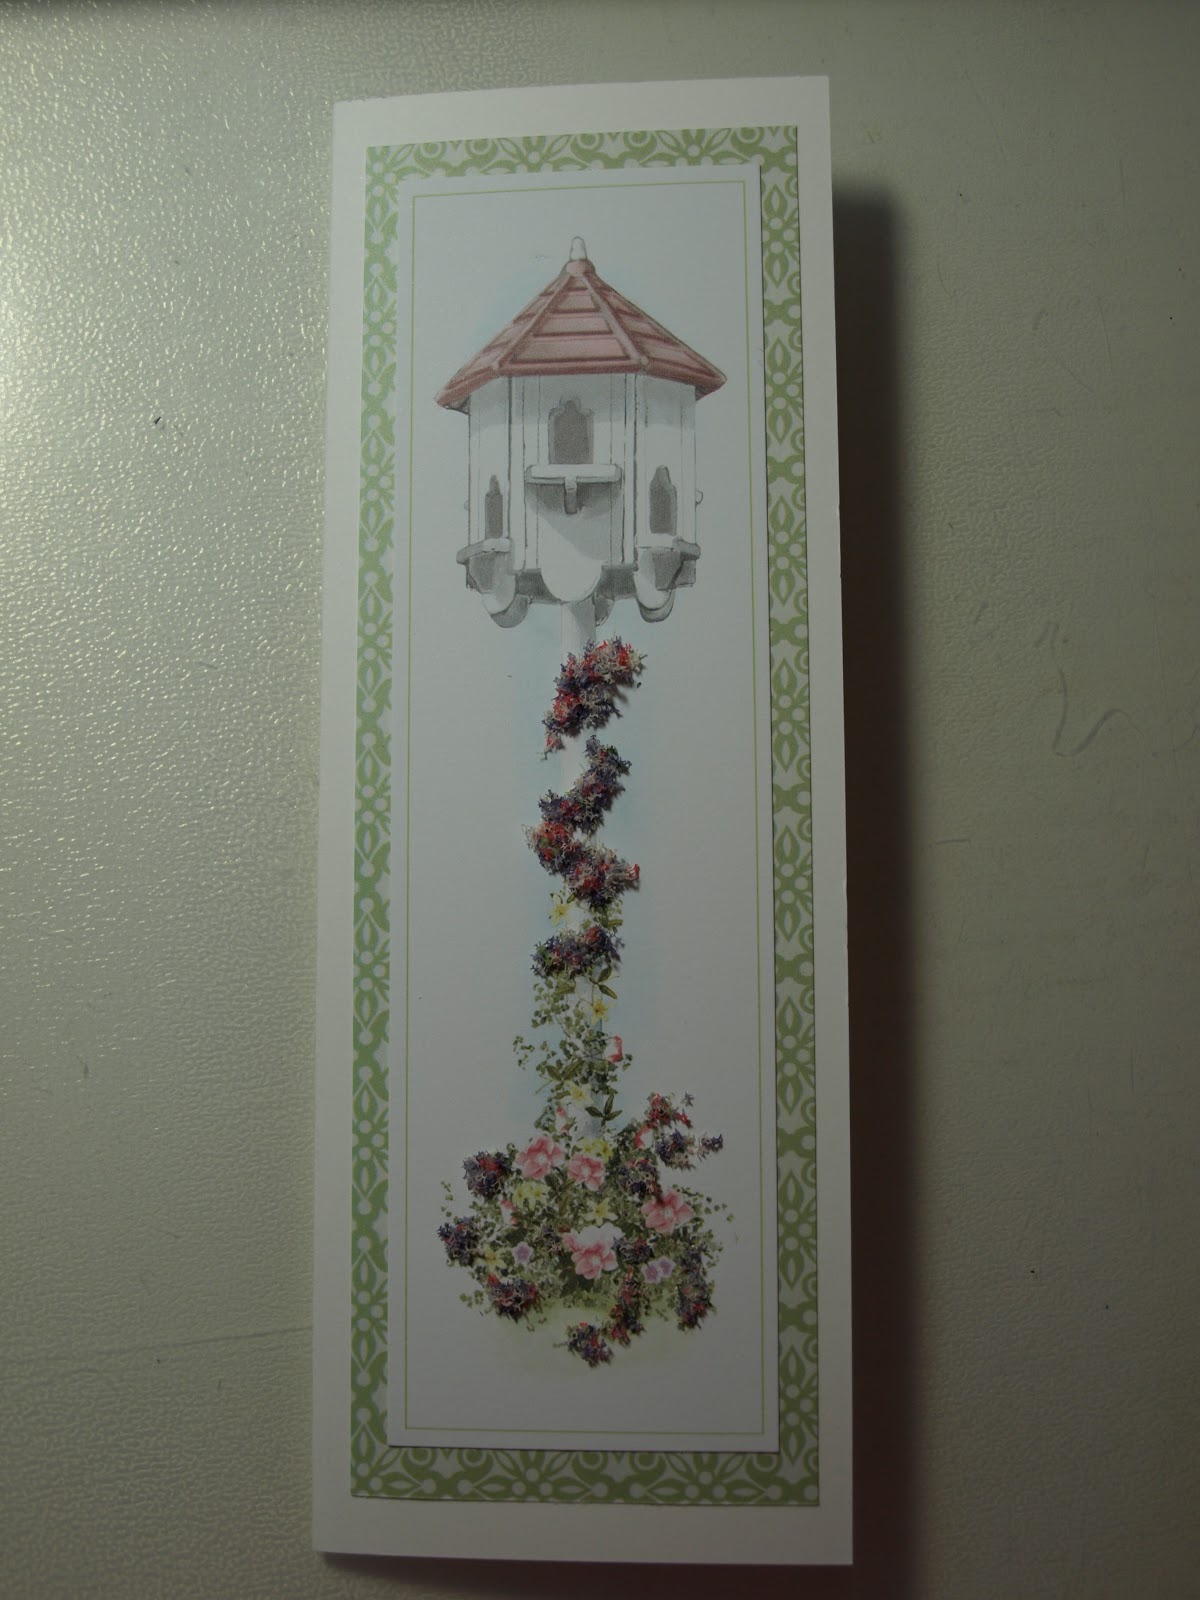
Finally (for today - although there are other projects I've done that haven't been received yet) a birthday card for one of my sisters - yes the same one I gave the bird houses to.
I used one of the Flower Soft toppers that I have had stashed away.