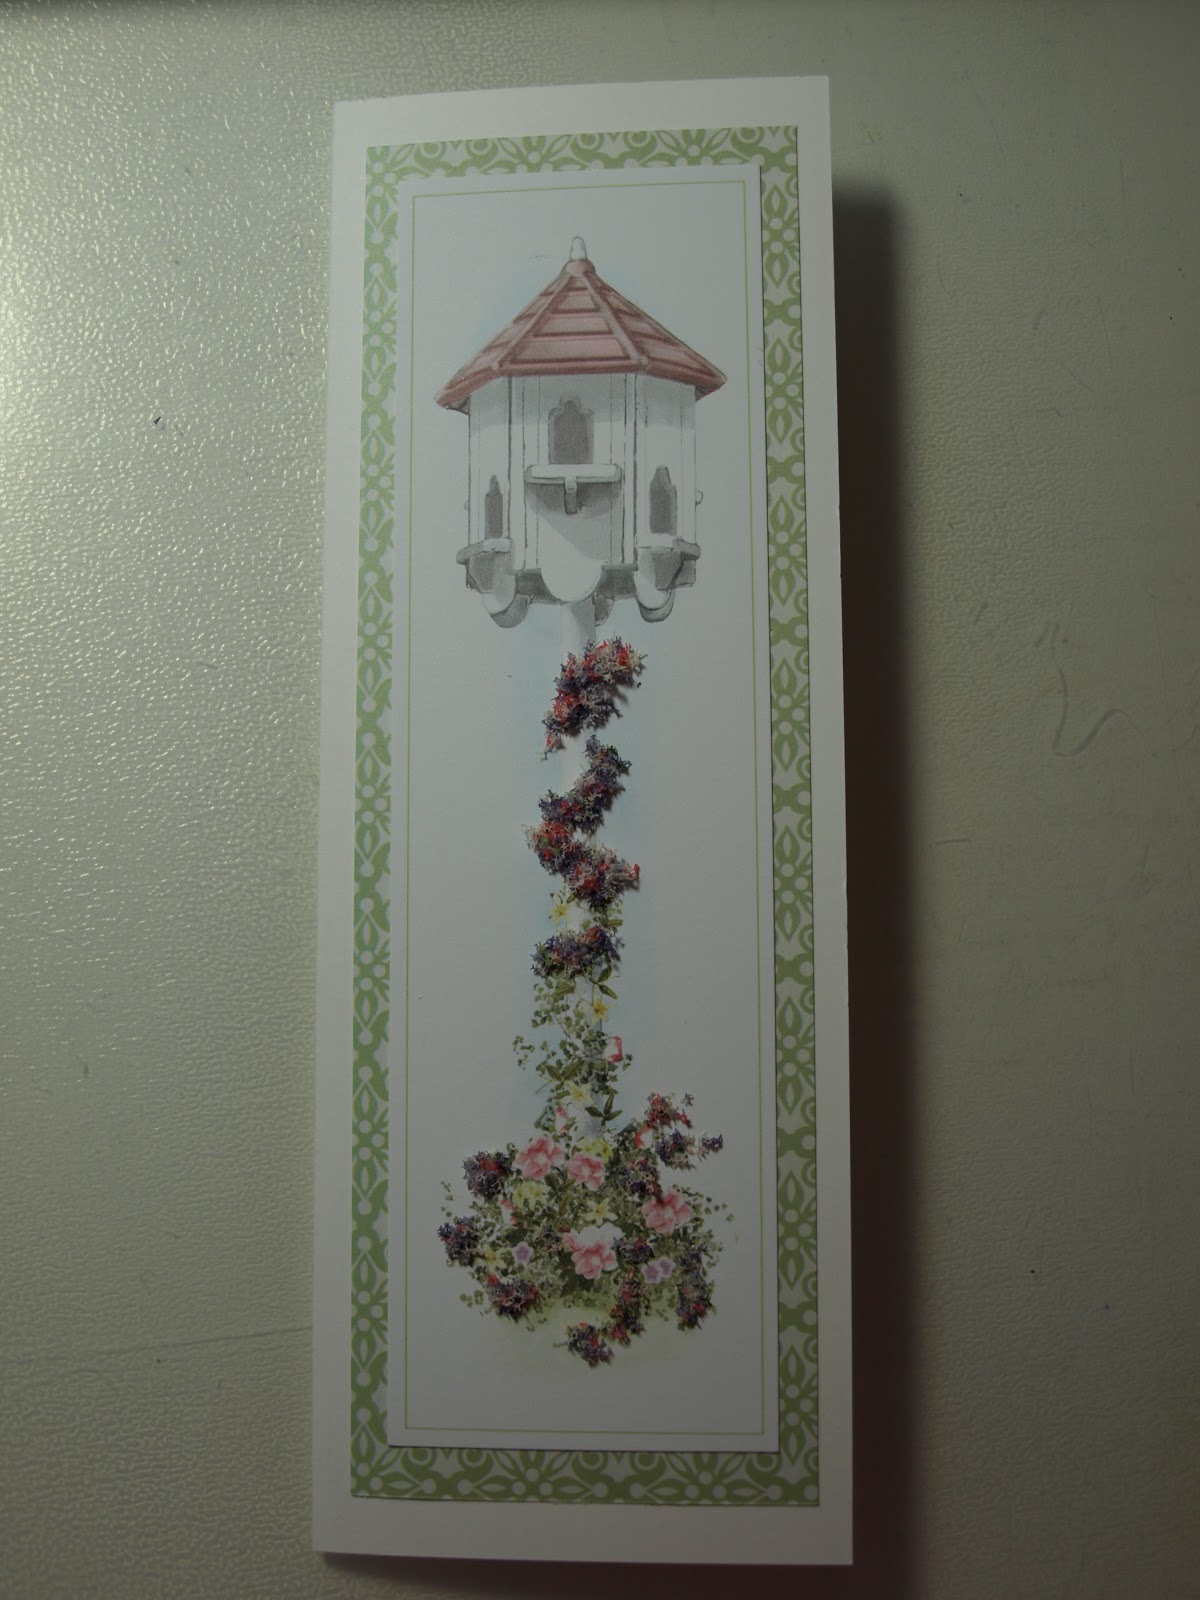
February 4, 2013

My Quilt Journey - Part 1

Sewing has been part of my life for a very long time. My Mum sewed! Her Mum sewed! Generations of women in my family (both sides) have sewed, some were even seamstresses. Even a few of the men in my family do the occasional bit of sewing. So I guess it was only natural that I would want to do it to!

The first thing I remember sewing was a dress for one of my dolls. I used green and white checked fabric, and even sewed some white lace on the hem.

Buy the time I was 11, I had also dabbled in tapestry and cross stitch; then I also tried long stitch and embroidery (not to mention knitting, bead jewellery, and a host of other crafts - papercrafts came later).

My introduction to patchwork and quilting came when I was in Grade 6. One of the mums offered to do lunch time patchwork classes and I jumped at the chance. That mum was Julie Wallace, now the owner of Quilter's Barn and a designer of fabric and quilt patterns. She taught us using her Quick Patchwork Papers, a product she was developing. I learned about fabric, colour matching, and quilting, and the final result was a small tote bag, that I still use on occasion.


Moving into secondary school, I continued to sew and do a variety of needle craft projects. I also chose Home Economics classes at school where we spent half the year sewing and half cooking - I liked the sew half better.

One of the projects we were able to choose was a log cabin bag. We were required to choose our own fabrics and spent several weeks making it. I loved the challenge and learning new skills.


By this time I was also making some of my own clothes and doing more and more cross stitch.
One of the cross stitch projects I did was a sampler (from Soverign Hill).

With the cross stitch sampler finished, I had the idea to make a sampler quilt. And that is how my quilt plan began. Not a quilt, but a quilted doona cover. I decided to use the cross stitch sampler as the centrepiece of my quilt, then put a sample of patchwork squares around it.

I began looking through quilting books and magazines to find the patterns that I liked most, then planned to use matching fabric to tie all the squares together.

The problem with this idea was that I liked 9 patch, 5 patch, 10 patch, 4 patch and 8 patch squares, and it would be difficult to get them all the right size, not to mention that it really wasn't going to work, and the cross stitch wouldn't go well in the wash.


The whole project was put on hold as I completed my final 2 years of school, then hunted for a job during a gap year and finally when I headed off to uni. During my time at uni I did start to buy some fabric - just whatever caught my fancy and when I had a little money to spare (that I hadn't spent on books).

Uni finished, I moved back home (although everyone moved, so it wasn't quite the same), but I was doing a lot of cross stitch, so quilting was at the back of my mind. I did work through which squares I wanted to do, made some templates, and even cut one square out, but then I started full-time work and the quilt was put on the backburner once again.

It got to 10 years after I originally started to plan, and I thought, ok, let's get this done. But by then my ideas, likes and dislikes had begun to change. I had also read about quilts where people put in fabrics to remind them of family and friends - like using fabric from an old shirt or baby dress, bits of left overs from a wedding dress, anything that reminded them of special events and people. So I began to think about doing a scrap quilt instead of the original idea. I also didn't really like the cross stitch sampler anymore and didn't want that on my bed.

So it was back to the drawing board. About this time Mum and Dad gave me a small applique to to. you've seen it - The Lighthouse (see older post).

 By the time I finished it in 2010, I decided to make this the centre of my quilt, and do crazy patchwork in blues around it to look like the ocean.

So, my reasearch into crazy quilts began, and I started to accumulate more and more fabric - all with blue somewhere in the pattern. The problem with crazy quilts is that they are all done in small areas and then joined together. I just wanted to have one big ocean, without the square joins, plus I wasn't planning to do any of the normal embellishment seen on crazy quilts because it needed to be washable.
About the only thing that hasn't changed in the planning of this quilt over the last 16 years is that it will be a doona cover, not a regular quilt.

Now we come to 2012. The quilt has been in the planning stages for 15 years (half my life, literally). It's time to get things done.
I'd worked out the backing fabric I needed to do the crazy quilt, and purchased it. I had the rest of the fabric to make the doona, and my fabric stash of a whole variety of blues was growing, and growing, and growing.

Then I went to a quilt and craft show in the middle of the year! I needed advice on how to use some of the ideas I'd discovered about crazy patchwork, BUT I was beginning to realise that what I wanted to do probably wasn't possible, and certainly not very practical.
I attended a couple of workshops, and then popped in to one done by, yes, the one and only, Julie Wallace - the woman who had first introduced me to patchwork and quilting.
The workshop was about her Quick Quilting Papers, and right at the start she mentioned how she had begun using this with a group of children at the school where her children had gone! That was me!!!!!
At the end of the workshop I went up to talk to her, and she actually remembered me!!! One of the quilts she had on display was a zig zag pattern, and that started me thinking. The zig zags would be like waves if I ran them horizontally across the quilt (Julie's pattern is vertical).

So now I've come full circle in my quilting journey. Instead of a crazy quilt, I'm now going to be using Julie's papers. My stash has grown a little more as I realised I needed some white/cream in the quilt (sea foam or the crest of the waves).

Now I just need the time to quilt ...

January 23, 2013

Op Shop Finds

I popped into the Op Shop yesterday to fill in some time, and came out with a few bargains.


In total, I only spent $7.50!!
The small pom-poms I'll be taking to work to add to what we have.
The black and white frames are actually puffy stickers that I'll use on cards.
The book has some great projects that I can try with the children at work (It was $2).
Finally, the little bears and ducks (pictured below) I'm planning to use as embellishments on cards.


So, be on the lookout for projects featuring these things in the future!

January 22, 2013

Sew and Sew!

Sewing has been my focus (when not studying) in recent days. I needed something to wear to my cousin's wedding, and had been unable to find anything in the shops, so I decided to sew something. This is what I ended up making. I did not end up wearing it though.
Let's just say, that pattern pictures are decieving. This top did nothing for my figure. So I ended up having a day of shopping with my Mum and one sister, that resulted in me purchasing a beautiful dress in an oceany green, that was very flattering, and everyone said I looked good.
I did, however, learn some new sewing skills and learned that Chiffon is an awful fabric to sew with!

This was a skirt I bought recently, but it was very straight and rather boring, so I jazzed it up with some dainty lace around the hem, I love it! And the pattern on the lace looks remarkably like butterflies. I actually stitched this by hand, although I could have done it much quicker by machine.

January 8, 2013

Progress on African Sunset


Here's what I'm up to with African Sunset. I haven't done the back stitch in this section yet, but you can already see the elephant's tail, wrinkles and the edge of the water!

I'm having to put this aside for a little while. I have a couple of secret projects that need to be done! You'll have to wait a few months to see them though, as they are gifts.

January 5, 2013

Galej Napkin Rings

In my last post I mentioned the napkin rings I made for Christmas.
Well here they are:

These are made from part of the packaging from the Galej Tealight Holders. These cardboard rings separate the 4 holders to keep them from rubbing against each other.

To make them:
1. Paint the edges of the rings with white acrylic paint (the inside and outside were already covered by a white layer).
2. Cut Christmas scrapbooking paper to the correct width.
3. Stick the paper to the ring with double stick tape.
4. Using Stampin' Up! punches, Punch the cream oval to write the name on. Glue that to the backing card (red or green), then punch with the scalloped oval, centering the cream oval in the punch.
5. Write the name on the label, then stick on the napkin ring, covering the paper join.
6. Insert napkin!

For the green card, I used a paint colour sample card!
Each set of the tealight holders comes with 3 rings.

Mysteries Revealed

Now that Christmas and a birthday have come and gone, I can now share with you some of the projects I made as gifts.

One of them was my first foray into Kaiser Craft's constructable items - in this case an advent calender.

 This is the 'advent' calender that I made for my Mum. I had planned to do it for 2011, but time got away from me. Then she said that she wanted one that could be used throughout the year, not just at Christmas, so I was very glad I hadn't done it.
It took a lot of time, particularly constructing all the individual drawers - I wrapped them with paper, then clear contact.


These are just 3 of the Christmas Tree decorations that I made for each family member (plus a few friends). As I have mentioned previously, it is a tradition in our family for each person to receive a new tree decoration each year. It makes our tree very eclectic, but I like it that way!


I also made my own gift tags! Just hearts punched out of Christmas papers (leftovers from a make and take I did at Paperific) stuck on precut circles, with a bit of gold cord tied through the holes.
I also made personalised napkin rings (no picture). A bit of recycling went into this project as I used the cardboard rings in the packaging of some Ikea tealight candle holders! I painted the edges of the rings white (there was already white paper on the inside and outside), stuck some Christmas scrapbooking paper around, and put on a label with the person's name. For a couple of the labels I actually punched out the shape from a paint colour sample card!


These were a present for one of my sisters. She loves bird houses and I found these two fairly cheaply online. They come unpainted, so I had the fun of painting and decorating them. The daisies on the green and red one I painted, but the lady bug is a sticker. For the green and white one, I stuck on blue paper flowers, but painted the vines.


These 2 felty friends rounded out my partially handmade Christmas Gifts. The Scotty dog was a new pattern, and I'm very pleased with how it turned out. My friend said she didn't want to wear the brooch because she'd rather look at it!


Finally (for today - although there are other projects I've done that haven't been received yet) a birthday card for one of my sisters - yes the same one I gave the bird houses to.
I used one of the Flower Soft toppers that I have had stashed away.

December 17, 2012

It's Beginning to Look a Lot Like Christmas ...

Christmas craft has been the order of the day, plus a few secret Christmas Present projects which will remain a mystery!


I actually finished this mini cross stitch in January, but I forgot to photograph it before I put it in my Christmas decoration box.


~~~~~~~~~~~~~~~~~~~~~~~~~~~~~~~~~~~~~~~~~~~~~~~~~~~~~~~~~~~~~~~~~~
I've also been making several Christmas cards. Here are just a couple.

November 6, 2012

African Sunset and a bunch of other things

I've been doing a lot of work on African Sunset lately - when I wasn't doing the Christmas Tree decorations for this year (more on that below).

I'm now half way done (if you don't count the backstitch).


I thought I'd give you an idea of where I'm at so the photo is of where I'm at on the pattern as well as part of my actual stitching.

It was an exciting moment when I reached the edge and made it down to half way. I'm working my way down to the bottom then back to the left. I'm almost ready to do the backstitch for the back of the elephant and down the back legs and tail. Right now I can see the skin wrinkles coming as I keep stitching that part.

~~~~~~~~~~~~~~~~~~~~~~~~~~~~~~~~~~~~~~~~~~~~~~~~~~~~~~~~~~~~~~~

For those of you how have followed my blog for a while, you will know that one of my family's Christmas traditions is to have a new Christmas Tree decoration for each family member every year. I have been making them most years, although I had a break last year when one of my sister's made them.
No photo's yet because I want them to be a surprise for my family when we decorate the tree. But once I have given them to at least the family still living at home, I'll put photos up.

~~~~~~~~~~~~~~~~~~~~~~~~~~~~~~~~~~~~~~~~~~~~~~~~~~~~~~~~~~~~~~~~~~

Now that summer is almost here, my crochet rug has been put away for cooler days. I had hoped to have it finished for next winter, but maybe it will be finished during next winter.

~~~~~~~~~~~~~~~~~~~~~~~~~~~~~~~~~~~~~~~~~~~~~~~~~~~~~~~~~~~~~~~~~~

Soon I'll be putting up some posts about my sewing projects, including doing a series of posts about my quilt - the one I've been planning for exactly half my life! So stay tuned for that.
In the mean time, have a look at this photo of a gift that a friend gave me this week.

September 22, 2012

Card Creations

I've been working on a project that required me to go through some of my craft supplies and that got me thinking about experimenting with a few of the things I found.

This is what I came up with:

The silver mesh was what got me thinking. I bought it last year as one of the materials to include with one of my assignments for studying Children's Services when I did a series of items to be used in a collage. Then I found the chicken picture that I had cut from a magazine, and the ideas just kept flowing.

~~~~~~~~~~~~~~~~~~~~~~~~~~~~~~~~~~~~~~~~~~~~~~~~~~~~~~~~~~~~
I also had a card to make as a thank you for a friend. This is what I came up with:

I used one of my Flower Soft Toppers and purple Flower Soft.
The border on the white paper was one of my Fiskars border punches.

September 10, 2012

African Sunset Update

I thought it was about time I updated you on what I've been working on over the last couple of weeks.

I've been stitching more of African Sunset nearly every night. And as a result I've been making very good progress.

I'm over half way across and each section is at least halfway down, depending on how much I had to do to finish the thread colour or so that I didn't have to do just 3 stitches of one colour in the bottom half.

I have done a little of the back stitch around on of the giraffes because I wanted to see what it would look like. There is actually not much back stitch compared to the overall size of the project. It's just the animals and some rocks at the bottom. The rest is all just a matter of how the colours are put together to create the picture and give shading.

It really makes a difference having the giriffe outlined with back stitch.